
Quick and easy video on using a plastic cup to make some halo-styled barricades!
Friday, 12 November 2010
Tuesday, 9 November 2010
Halloween
Hello everyone!
A bit of a late update sorry!
Here are a few of the things we did for a halloween party.
The Mystery Box:
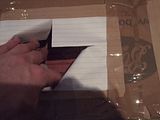
Get a large carboard box
Cut out a few circular holes on both sides:
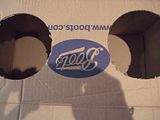
Cut off the folds, attatch 2 together and place them in the centre of your box
This will allow you to divide the mystery items.
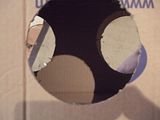
Attatch a piece of paper over each hole
Cut in an addition sign ( + ) to enable hands to enter

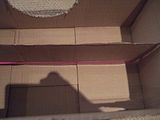
Make some grim things to put in it. From left to right:
Overcooked and cooled porridge, shaped into a 'cats brain'
Pumpkin insides - 'hobbit innards'
Mushed up bannana & raisins - warmed up - 'witches vomit'
Pickled onions for eyes
and the infamous spaghetti worms.


Paint everything up and place your mystery items in the box.


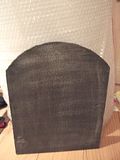
We also made this tombstone from high density polystyrene.
Cheers everyone!
We hope you had an awesome time!
Simon
Pathfinder Wargames
A bit of a late update sorry!
Here are a few of the things we did for a halloween party.
The Mystery Box:
Get a large carboard box
Cut out a few circular holes on both sides:


Cut off the folds, attatch 2 together and place them in the centre of your box
This will allow you to divide the mystery items.

Attatch a piece of paper over each hole
Cut in an addition sign ( + ) to enable hands to enter


Make some grim things to put in it. From left to right:
Overcooked and cooled porridge, shaped into a 'cats brain'
Pumpkin insides - 'hobbit innards'
Mushed up bannana & raisins - warmed up - 'witches vomit'
Pickled onions for eyes
and the infamous spaghetti worms.


Paint everything up and place your mystery items in the box.


We also made this tombstone from high density polystyrene.

Cheers everyone!
We hope you had an awesome time!
Simon
Pathfinder Wargames
Sunday, 17 October 2010
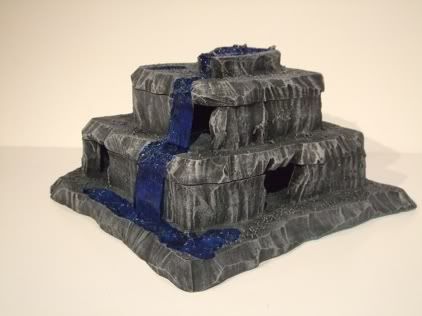
Waterfall Cave & Modular Sci-Fi Updates
Hey everyone!
Just completed our Waterfall Cave and Modular Sci-Fi sets!
Let us know what you think!
They are currently on our ebay pages.
We loved building these so much and look forward to modifying future versions based on wargamers opinions.
Whilst all terrain is handmade and therefore unique, a modular sci-fi set is planned to be cast in resin. Obviously we will make changes to the designs - so if you have any input let us know!
With halloween on the way we should be putting up some tutorials on props etc!
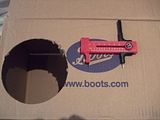
The other day when packaging up a customers order, tape-gun in hand, i reverted back to childhood, and held it out at arms length & aiming down its sights.
I think i will be taking apart my tape-gun, boltgun/laser gun on the way ;)
Let us know what you think!
Yours,
Simon
Pathfinder Wargames
Just completed our Waterfall Cave and Modular Sci-Fi sets!
Let us know what you think!
They are currently on our ebay pages.
We loved building these so much and look forward to modifying future versions based on wargamers opinions.
Whilst all terrain is handmade and therefore unique, a modular sci-fi set is planned to be cast in resin. Obviously we will make changes to the designs - so if you have any input let us know!
With halloween on the way we should be putting up some tutorials on props etc!
The other day when packaging up a customers order, tape-gun in hand, i reverted back to childhood, and held it out at arms length & aiming down its sights.
I think i will be taking apart my tape-gun, boltgun/laser gun on the way ;)
Let us know what you think!
Yours,
Simon
Pathfinder Wargames
Sunday, 3 October 2010
Juice Carton Clock Tower
Hey Blogspot Followers!
A new tutorial is up! It's a simple How-to using an orange juice carton and some cardboard to make a Clock Tower for fantasy.
http://www.youtube.com/watch?v=inE2bH1bpEQ
A new tutorial is up! It's a simple How-to using an orange juice carton and some cardboard to make a Clock Tower for fantasy.
http://www.youtube.com/watch?v=inE2bH1bpEQ
Wednesday, 15 September 2010
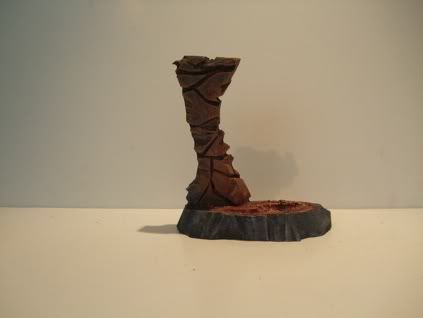
Chaos World Temple Terrain Tutorial
Just a quick tutorial using offcuts to create some terrain, by a subscribers request:
Friday, 27 August 2010
Blog Update - Modular Sci Fi Set
Hello!
We hope that you are all well!
Just an update for our blog followers:
We have been working on a modular sci-fi set - This will probably be a one - off but if we get many requests we will look into making a new version which will be cast in plastic or resin. - Obviously it will be different to this one as it wouldnt be fair to sell a one-off and then open a production line for it!
Let us know what you think:
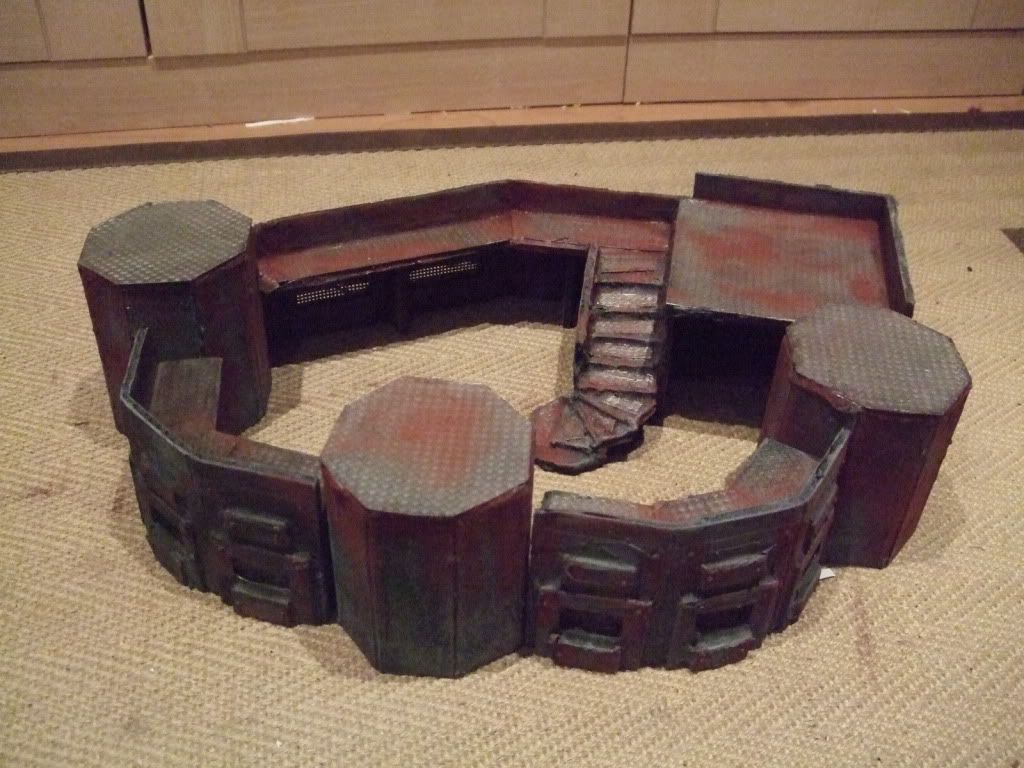
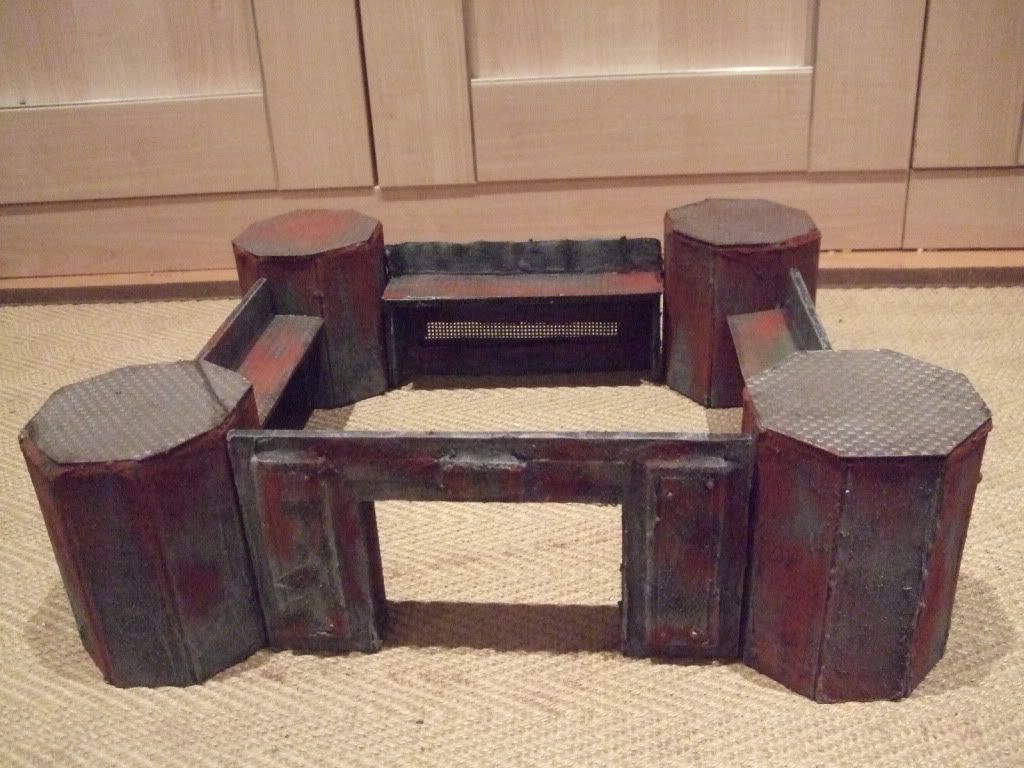
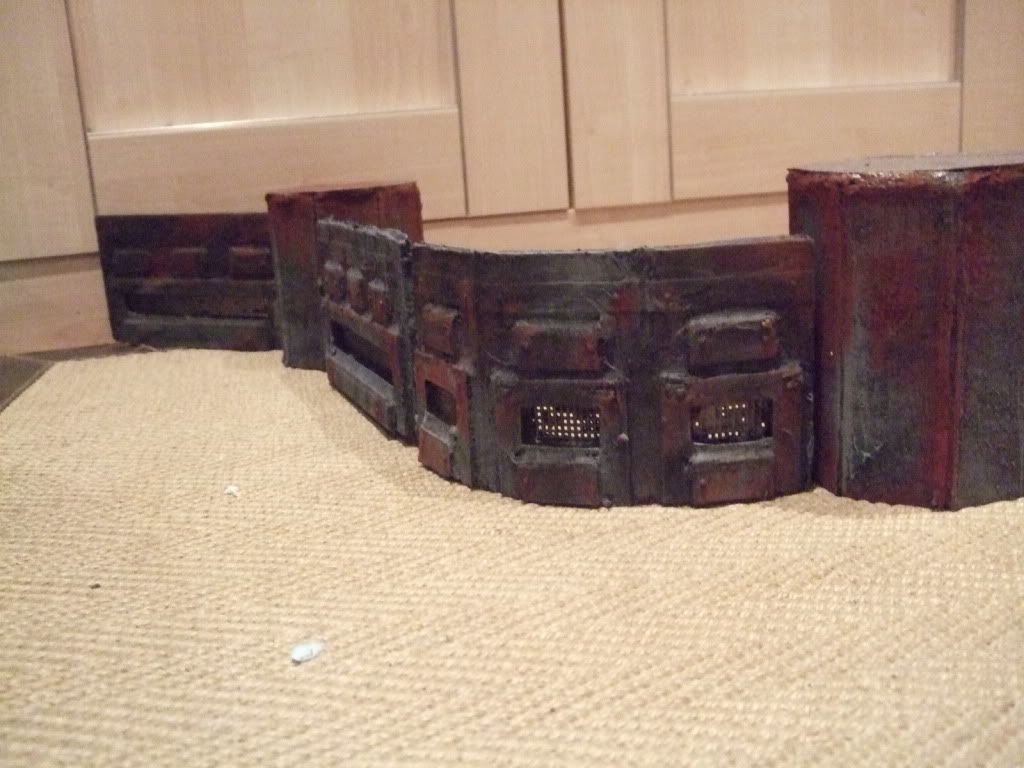
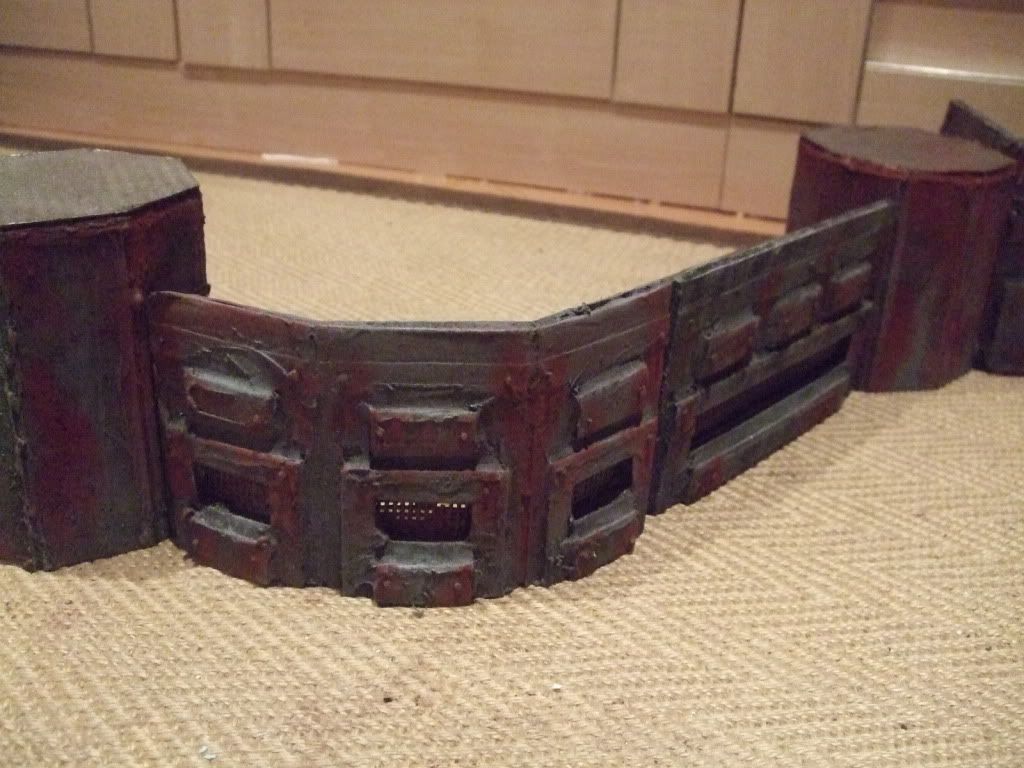
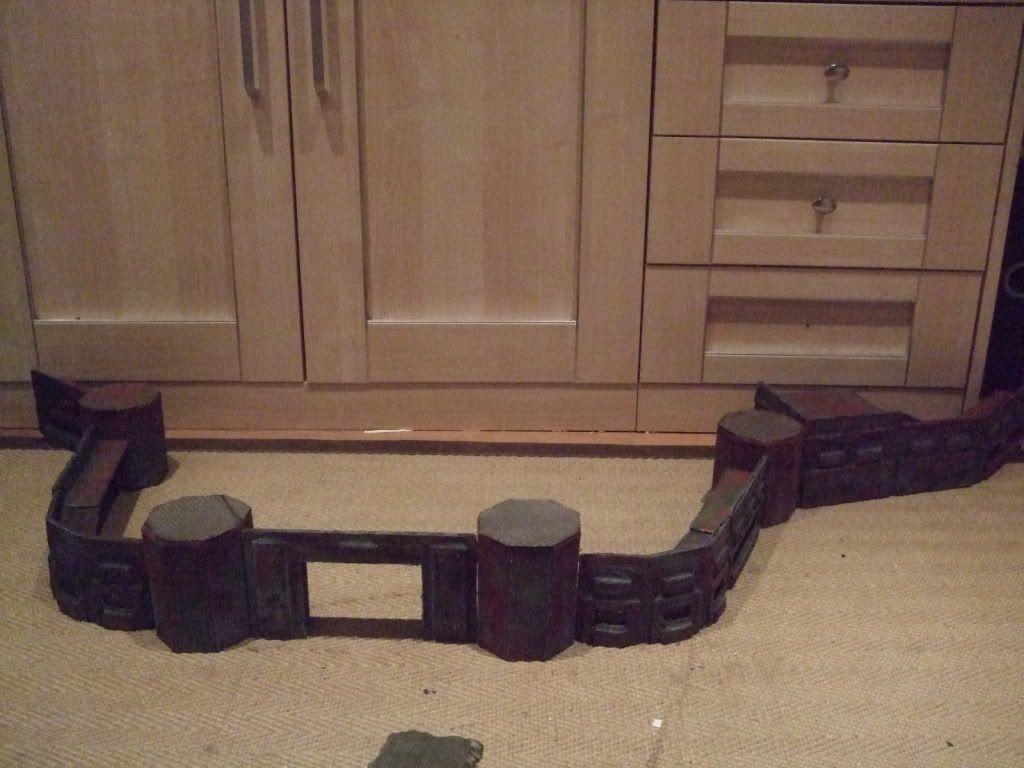
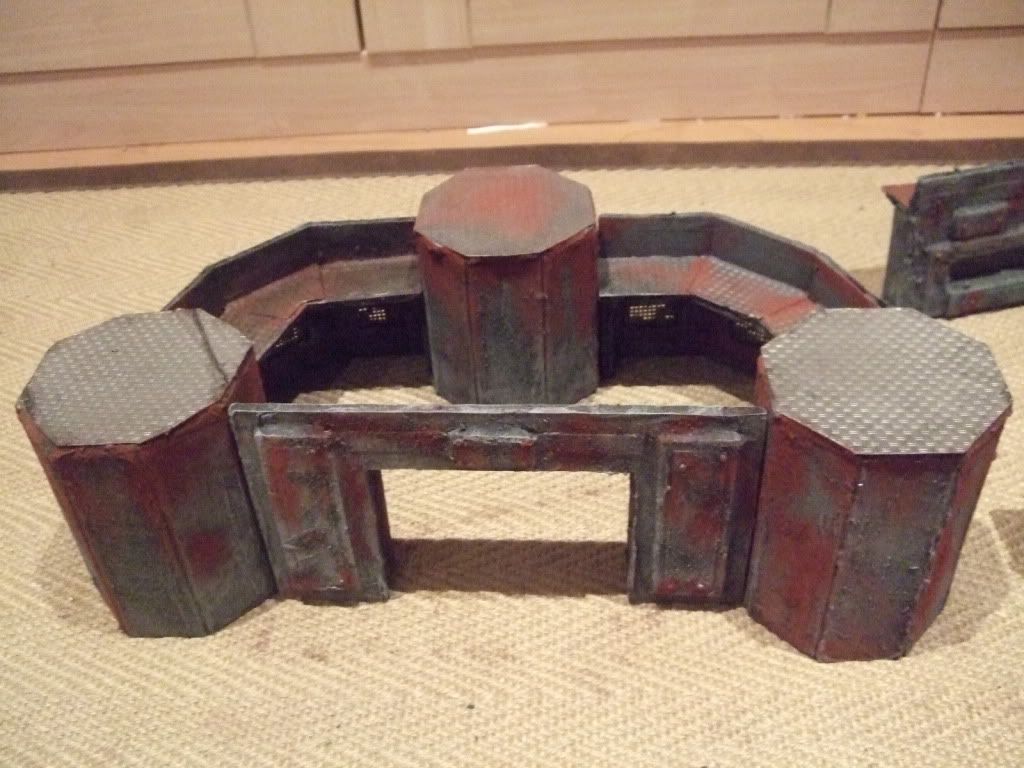
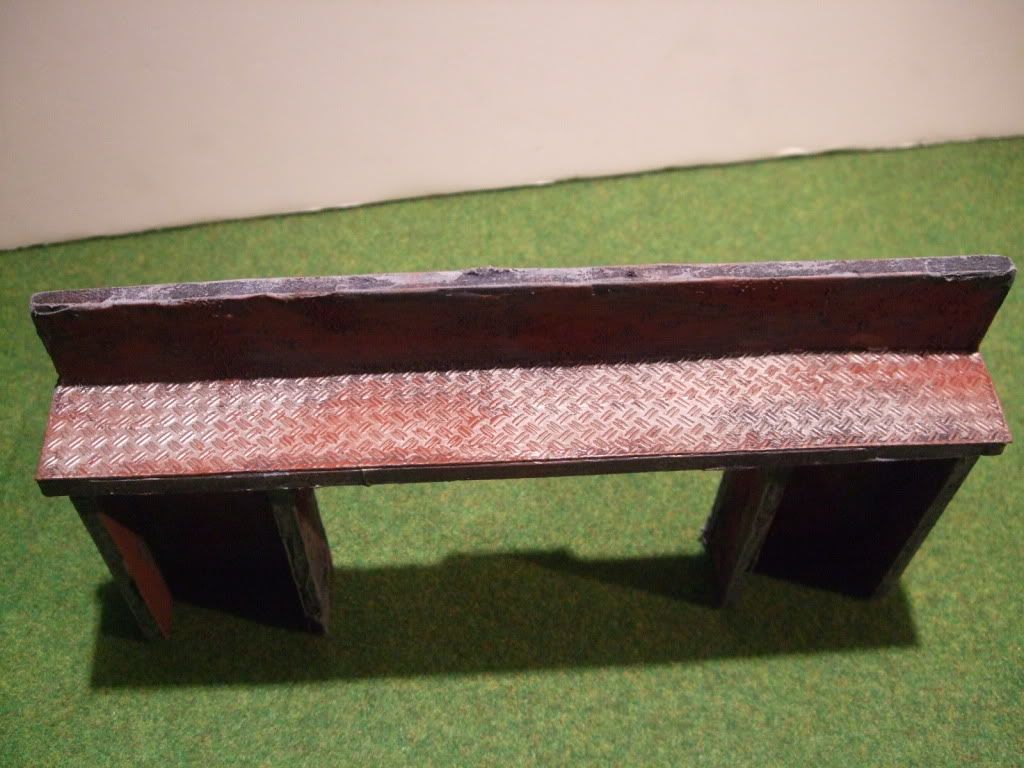
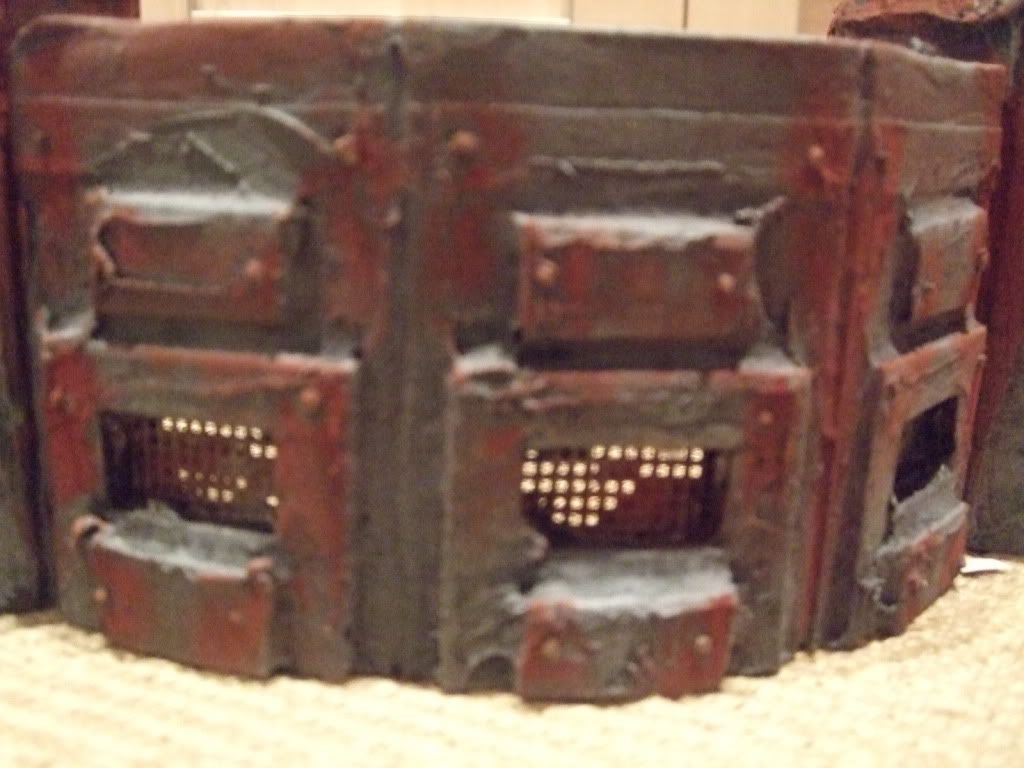
They still need a lot of work and some decent pictures taking but we are very happy with their initial designs.
Happy Wargaming!
Simon
Pathfinder Wargames
We hope that you are all well!
Just an update for our blog followers:
We have been working on a modular sci-fi set - This will probably be a one - off but if we get many requests we will look into making a new version which will be cast in plastic or resin. - Obviously it will be different to this one as it wouldnt be fair to sell a one-off and then open a production line for it!
Let us know what you think:


They still need a lot of work and some decent pictures taking but we are very happy with their initial designs.
Happy Wargaming!
Simon
Pathfinder Wargames
Monday, 23 August 2010
Plastic Tubing Tutorial 101
Hello!
Just a quick video on some simple designs using gale force nine plastic accessory pack.
If you dont have that, there are plenty of other things you can use, from straws to pen casings and toothpicks!
If you want to buy some, we sell it on the website.
www.pathfinderwargames.co.uk - in the supplies section.
Friday, 23 July 2010
Pathfinder Wargames Update
Hello!
Just a quick few updates from Pathfinder Wargames to let you know whats going on!
We now stock Gale Force Nine: Scenics and Tools range available here:
www.pathfinderwargames.co.uk -> shop -> supplies


As well as that we have been working on a few new items for the website:
The waterfall cave - still under construction
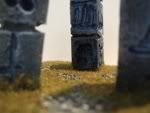
Some Rune Stones
Lava Terrain - better pictures soon that will hopefully capture the OSL
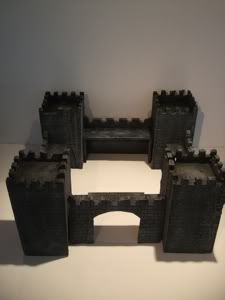
And a castle - still a W.I.P at this point
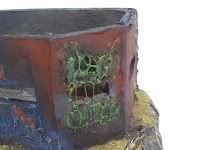
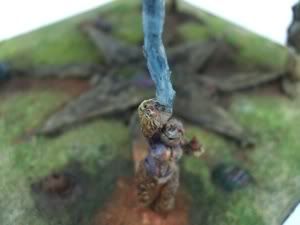
A few recent customer specific creations:
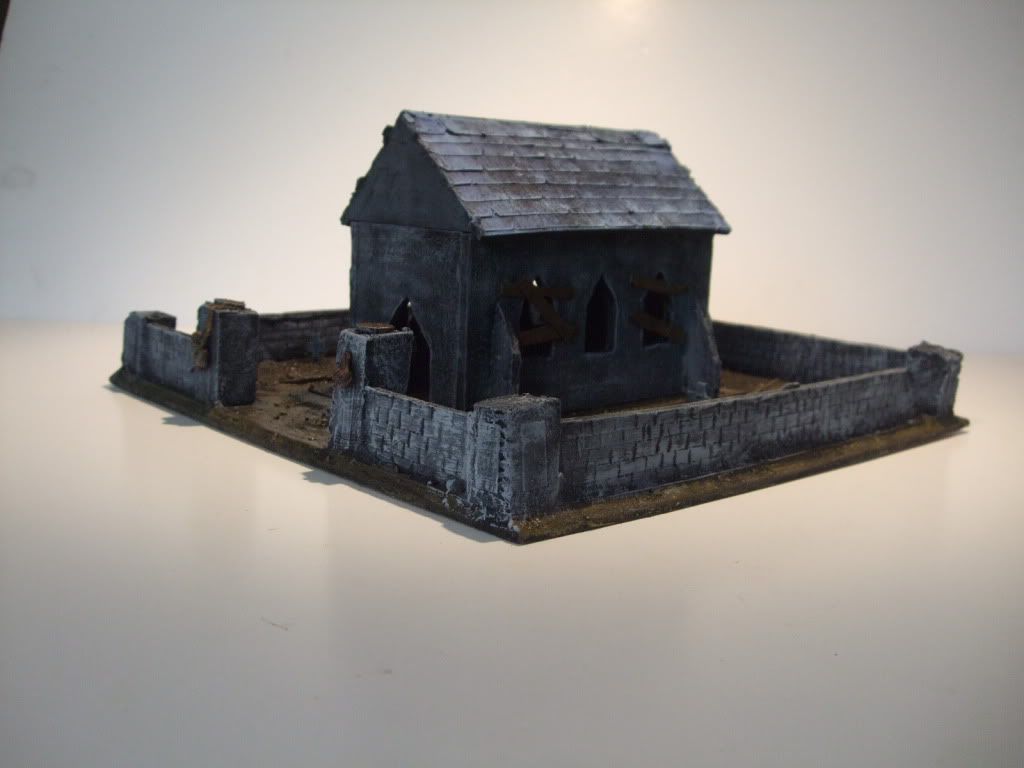
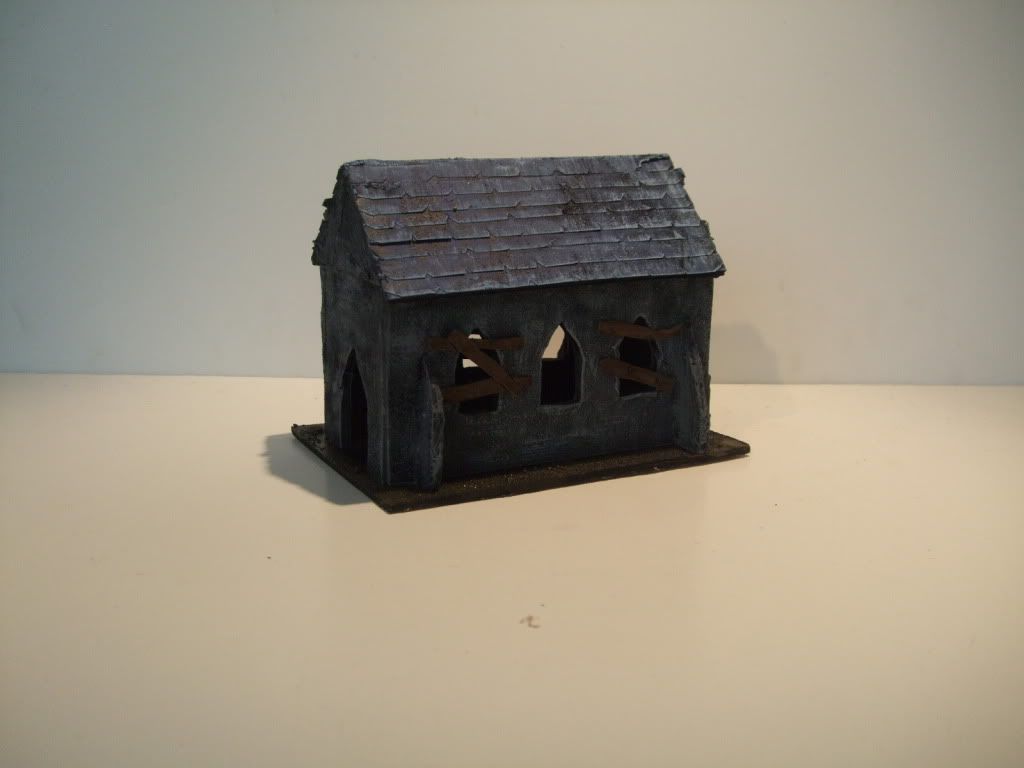
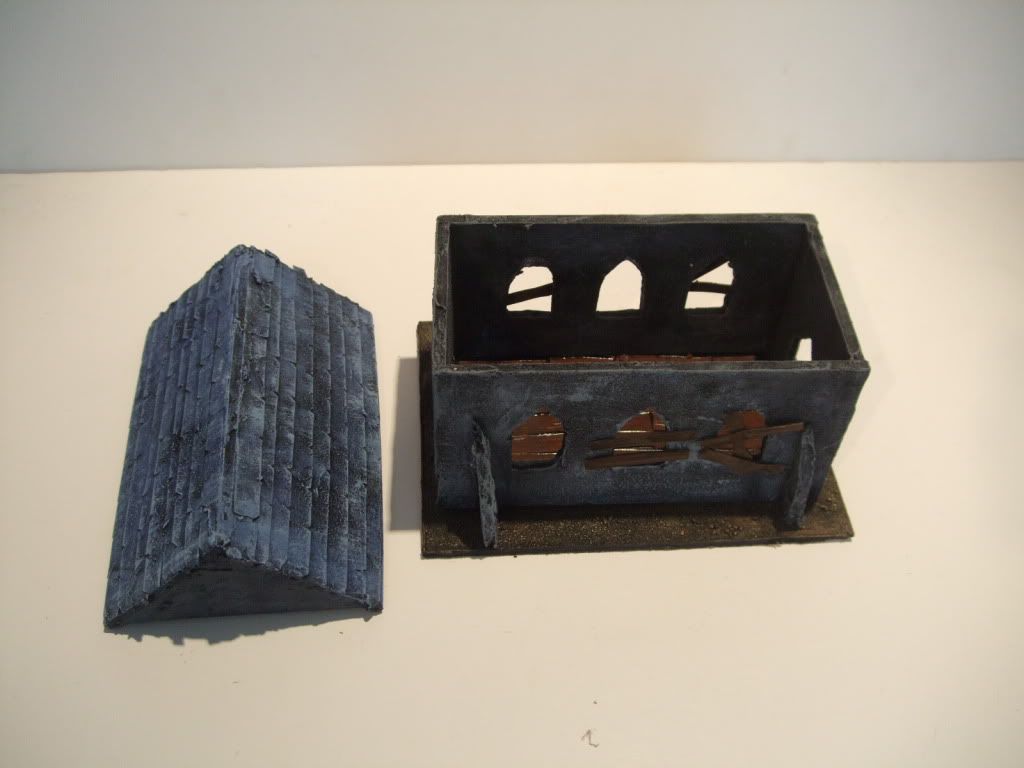
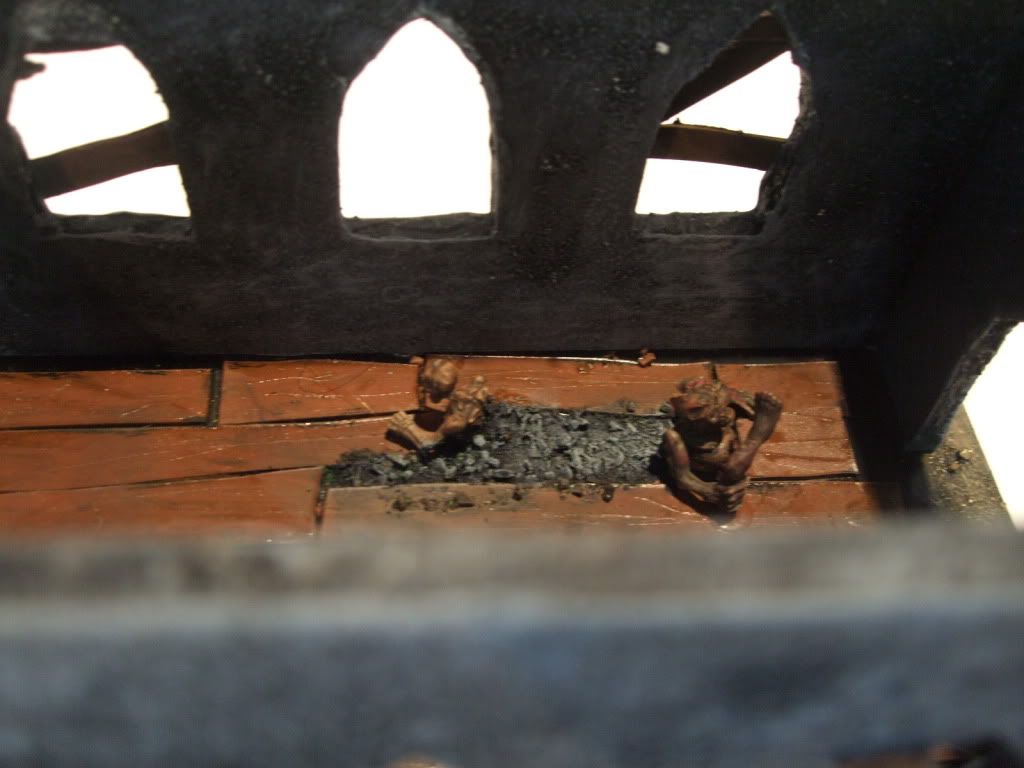
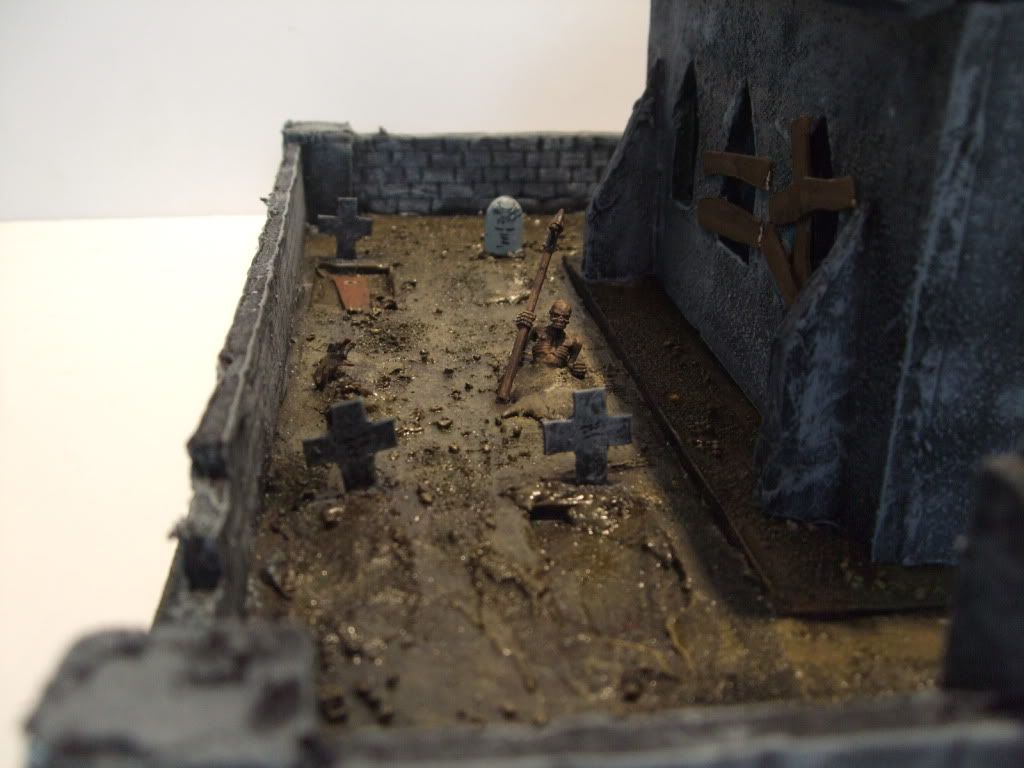
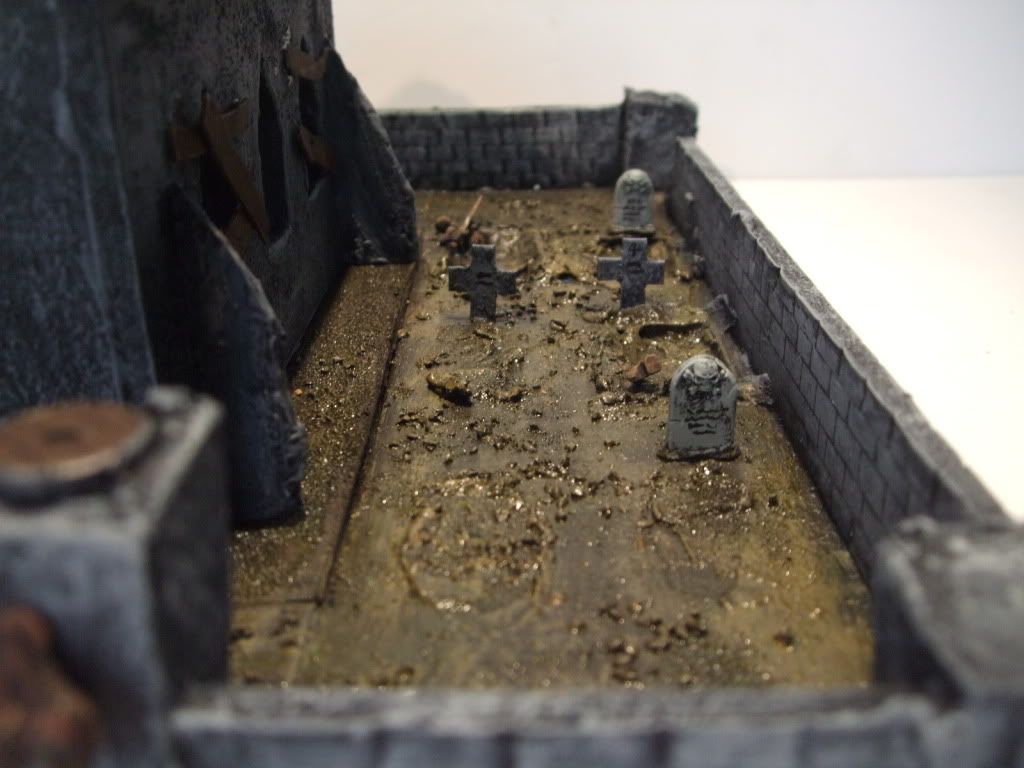
Zombie Attacked Cemetary
An Alien Attacked Bunker
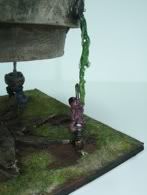
And a floating temple of tzeench, held up by the jets of coloured water.
New tutorial coming soon, thanks for reading!
Happy Wargaming!
Yours,
Simon
Pathfinder Wargames
Just a quick few updates from Pathfinder Wargames to let you know whats going on!
We now stock Gale Force Nine: Scenics and Tools range available here:
www.pathfinderwargames.co.uk -> shop -> supplies


As well as that we have been working on a few new items for the website:
The waterfall cave - still under construction

Some Rune Stones

Lava Terrain - better pictures soon that will hopefully capture the OSL

And a castle - still a W.I.P at this point

A few recent customer specific creations:
Zombie Attacked Cemetary


An Alien Attacked Bunker

And a floating temple of tzeench, held up by the jets of coloured water.


New tutorial coming soon, thanks for reading!
Happy Wargaming!
Yours,
Simon
Pathfinder Wargames
Sunday, 4 July 2010
Subscriber Appreciation and Competition Video
Check out the youtube channel for our terrain competition!
Your chance to win a full boards worth of terrain!
www.youtube.com/user/pathfinderwargames
Good luck!
Your chance to win a full boards worth of terrain!
www.youtube.com/user/pathfinderwargames
Good luck!
Monday, 10 May 2010
Tutorial - Angel's Tower
Welcome to our second tutorial by subscribers request, here is a tutorial on some easy to make Dark Angels terrain.
There will be 4 parts to this tutorial, this is the second part.
Dark Angels Terrain Part 2: The Angels Tower
If you do not have the materials that I used for this project, I have supplied alternatives for you.
For this tutorial I have used / alternatives:
Foamboard / Corrugated Cardboard
Plasticard / Cereal Box Cardboard
High density Polystyrene / Corrugated Cardboard [I will explain later]
Glue gun / PVA Glue
Ruler
Paints
Step 1 – The lower walls
- To make the lower walls of your
- Measure out 4 rectangles: 5” x 4”

- Using a pen, indent a wall design. If you used corrugated card you can cut out a design using a thinner card like a cereal box.

- Mark a line on each wall section 1 and ¼ inches from the top – a platform will go on this to support the upper walls.

Step 2 – The upper walls
- To make the upper walls of your
- Measure out 4 rectangles: 4” x 3”

- Using a pen, indent a wall design. If you used corrugated card you can cut out a design using a thinner card like a cereal box.
Step 3 – The floor and platform
- To make the floor and platform sections measure and cut out 2 squares measuring 4” each side.

- Glue the bottom of your lower walls to the sides of the first square
- Glue your platform onto the line that you have drawn 1 and 1/4 inches from the top of each wall section.
- Glue the upper walls to the centre of the platform

Step 4 – Bridging the gap
- There will be a gap between the lower walls and the upper walls
- Measure out 4 trapezium shapes
- Use the trapezium shapes to bridge the gaps between the levels


Step 5 – Detailing
- Cut out a door and door frame from plasticard [or cardboard]

- Score the door with a knife to create a wood panel effect

- Add any other details such as windows/gargoyles etc.
Step 6 – Corner Beams
- Cut 4 lightening bolt shapes out of foamboard


- These will travel up the corners of your tower.
Step 7 – The Angel
- The angel was carved into high density polystyrene

- If you cannot do free hand, print off a design from the internet and trace it.
Step 8 – Finishing
- Apply filler to any gaps and to texture
- Paint – This tutorial used:
- Walls – Black, Adeptus
- Doors – Calthan Brown, Devlan mud wash


Thanks for reading
I hope this tutorial has been useful
Subscribe to:
Comments (Atom)


